Managing your Apps
After you Grial Web Admin you will see the home page which will allow you to manage all your apps. You can also browse to this page from the My Apps option in the main menu, as shown in the following image.
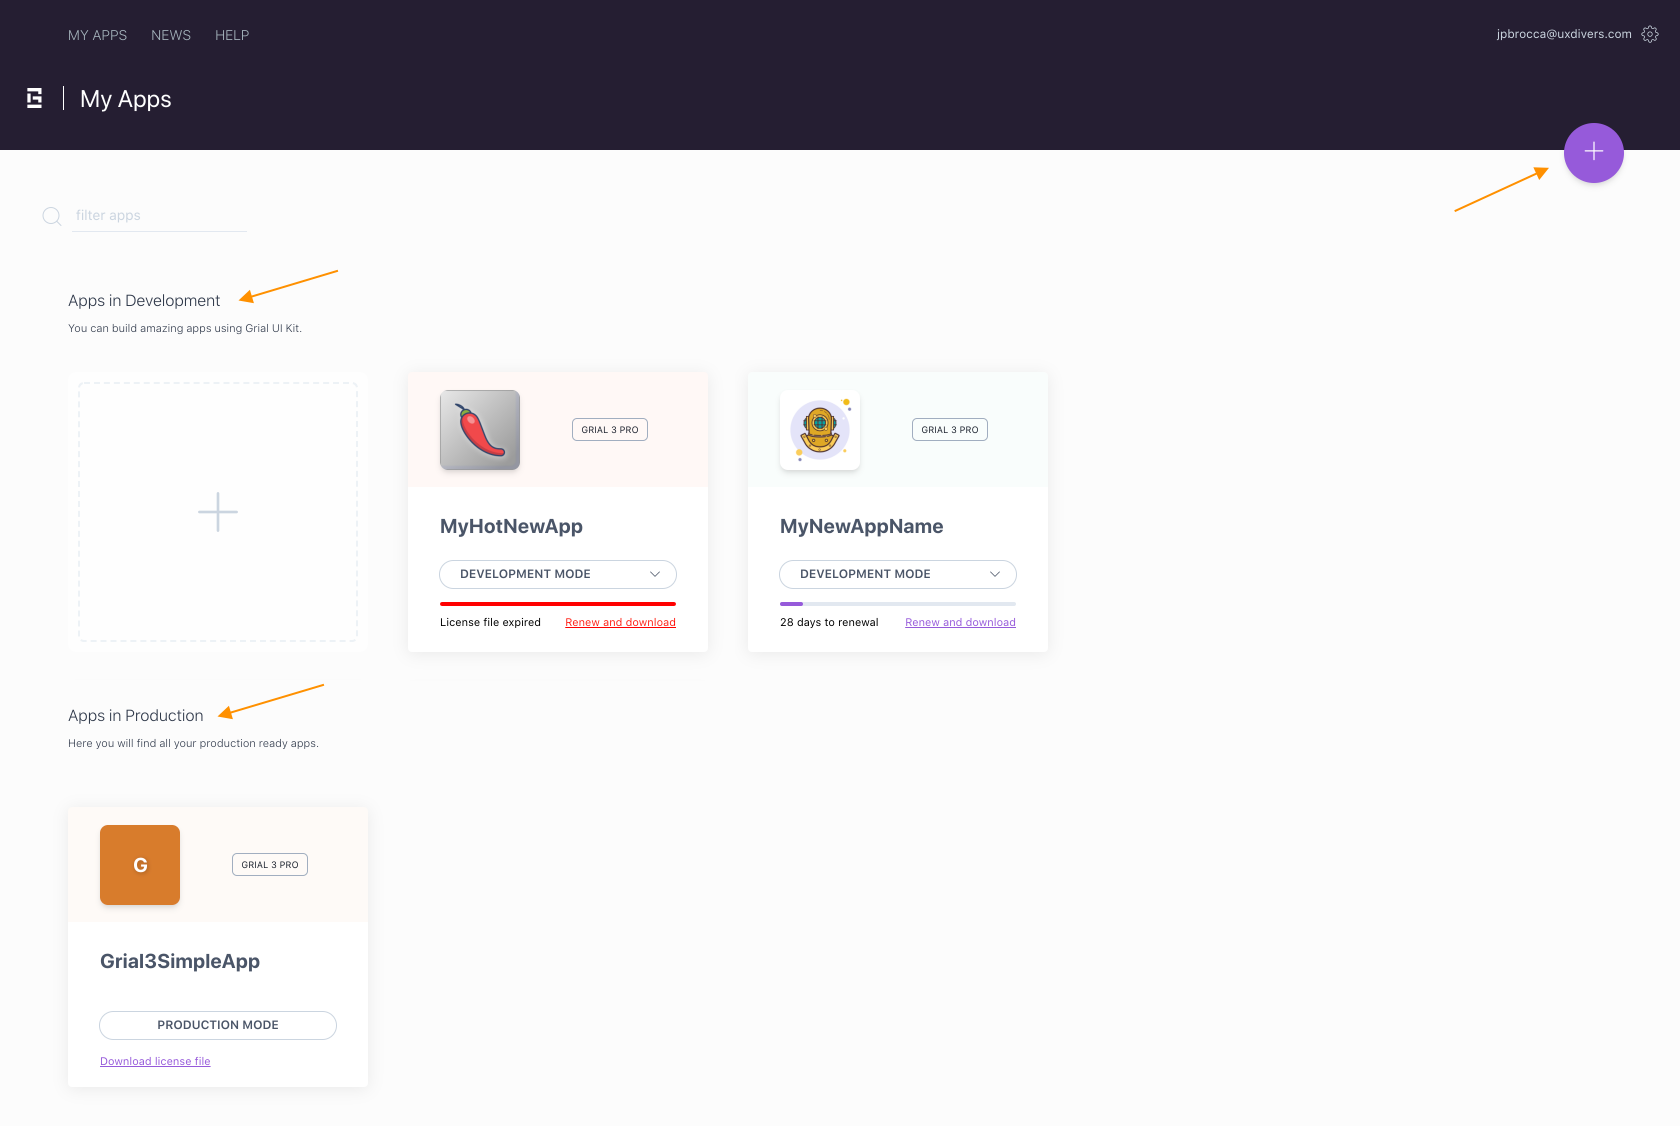
You will see your Apps in Development as well as your Apps in Production (see license modes above).
For each one of them you will see a card showing relevant info:
- icon
- app name
- license type
- license mode (if it is on development or production)
- license file expiration status and date (for development licenses)
By clicking on the app name card, you will navigate to the details page where you can see and update your application through the
Pages,
Design and
Download tabs.
Creating A New App After Claim
After you claim and register your Grial license you will start creating a new app using that license.
Just type your app name and press the Create button to continue:
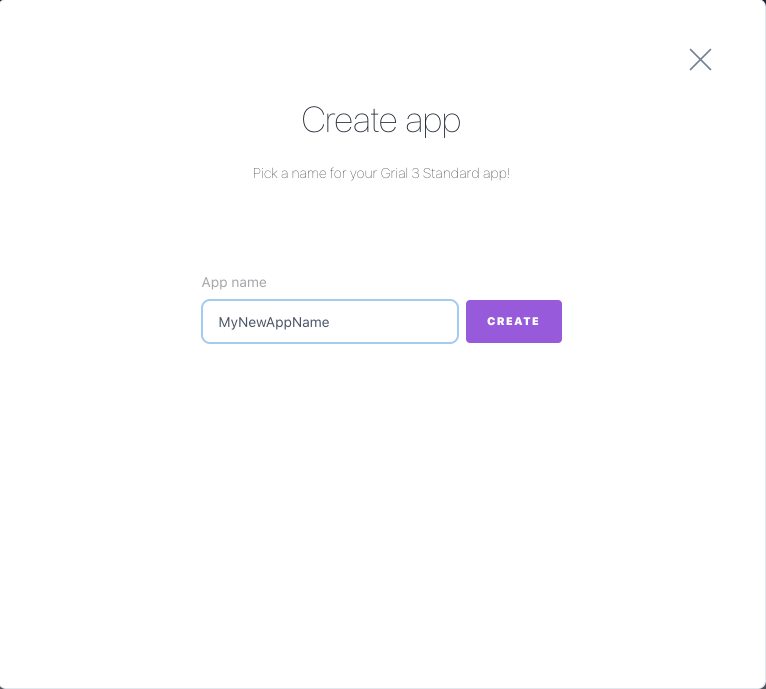
To speed up the process, all the Visual Studio Solution settings will be inferred from the app name. You can modify them anytime of course.
After this step you will be redirected the app's detail page where you can further customize and download the code.
Creating A New App From An Available License
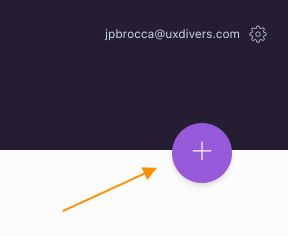
You can also create your apps from the + button:
A dialog will be displayed showing two options:
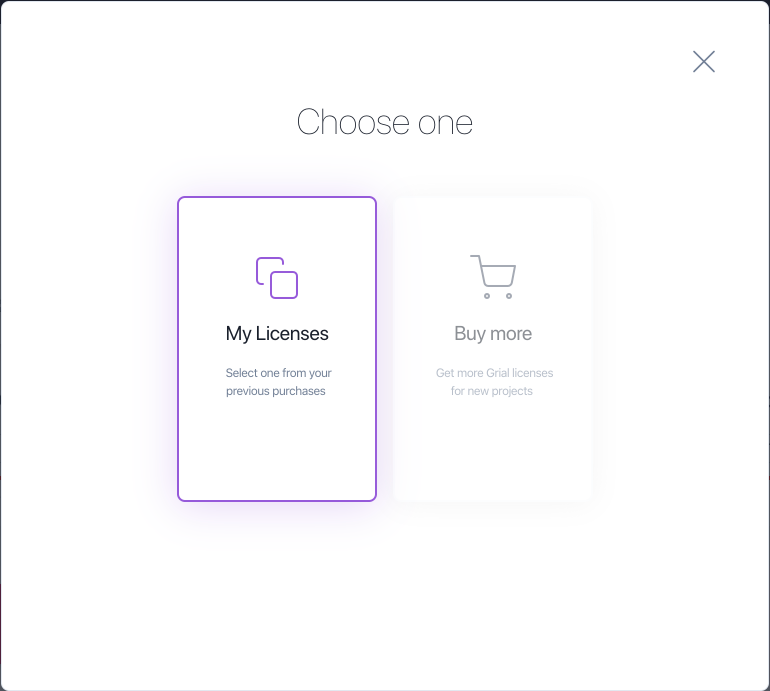
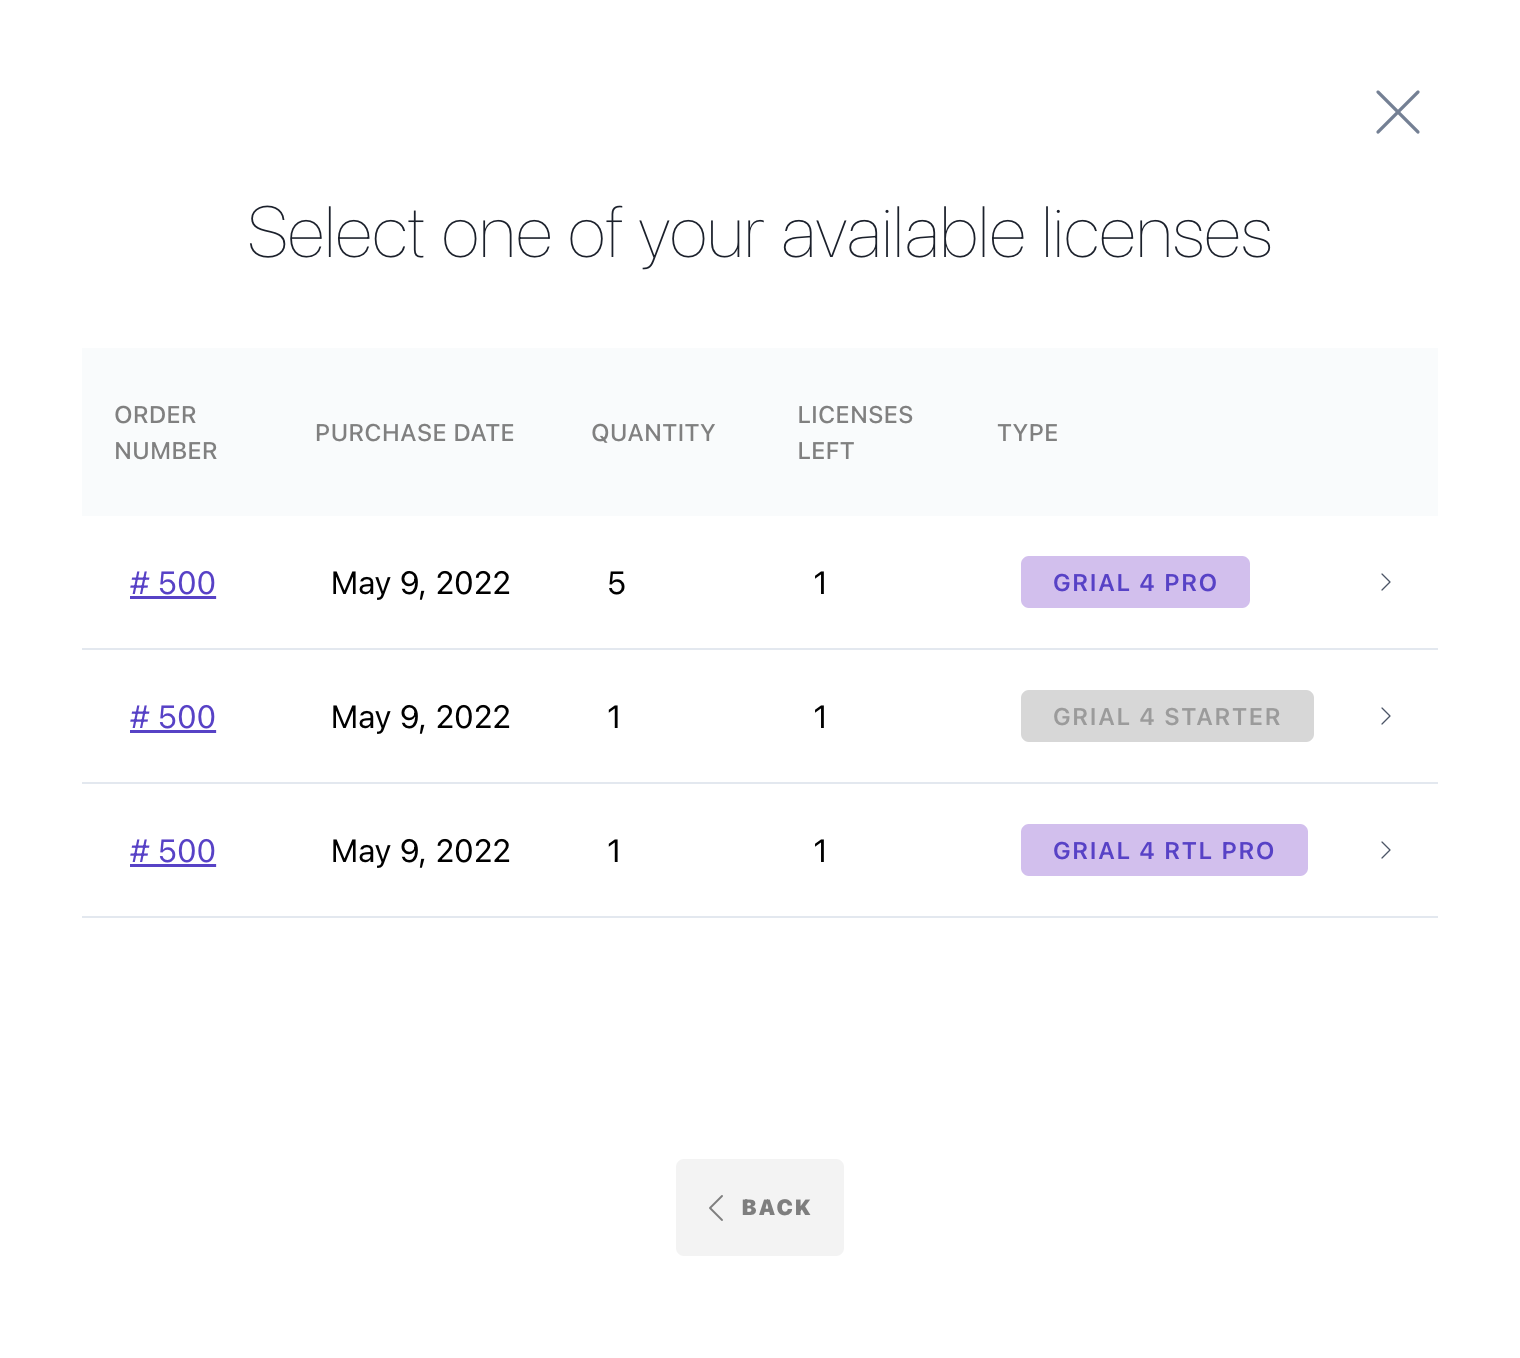
If you choose My Licenses you will be able to browse among your existing licenses to choose which one you will use for your new app:
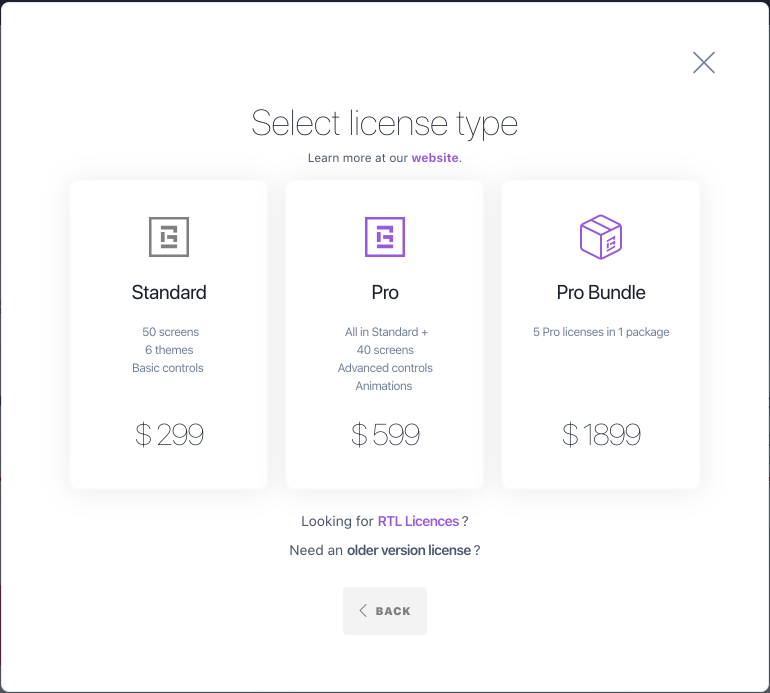
You could instead choose the Buy More option. It will allow you to purchase a new license for your new app: